Writen by Birgit
You are not allowed to forward this
tutorial or to place it on any web site.
This tutorial is © Birgit - www.birgitja net - 2009
It's my own idea, any resemblance to another tutorial is purely coincidental.
But all graphics made by your self are yours.
I used Psp 9 , but other versions should work.
I have used 3 tubes, 1 Word Art.
Tubes are not my own, dont know where I got them.
Word Art my own.
Materiel here.
Plugins used:
AAA filters - FotoFrame zip here
Eye Candy4000 / Shadowlab. zip here.
Save plugins in your pluginsmap.
and tube - word art in your own map for this tutorial.
Feel free to use own tubes.
1.
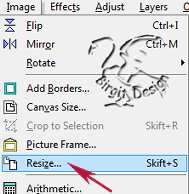
Now open Image.
File/New/New Image 575 x 580 transparent.
In materialbox set foreground to #edcab7
and background to #b46a79.
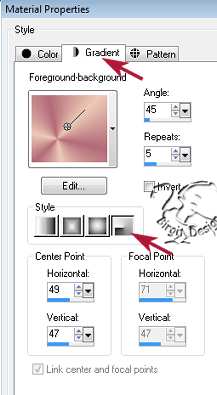
Set foreground to gradient-
Foreground/background angle 45, repeats 5 -
style radial, invert not unchecked:
Flood fill Image.
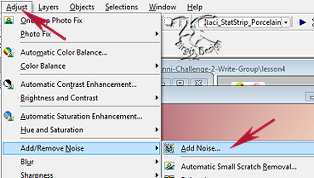
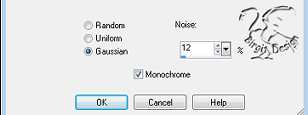
Go to Adjust/Add/Remove Noise - Add Noise,
Gaussian - noise12 Monochrome checked:
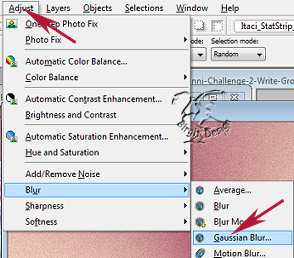
Adjust/Blur - Gaussian Blur - radius 30:
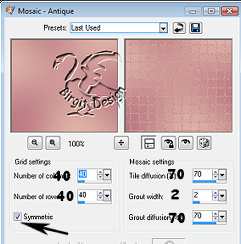
Effects/Texture Effects/Mosaic-Antique,
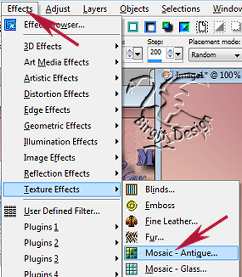
with these settings:
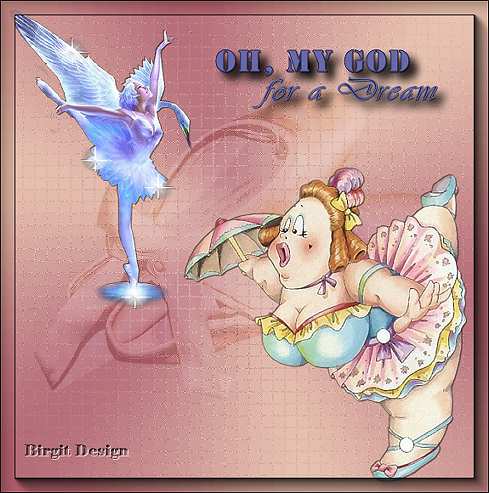
2. Open tube
ametista_scarpette . Edit /Copy , close it.
On image - Edit/Paste/Paste as New Layer.
In layerpalette set Blend mode to softlight and
opacity to 50:

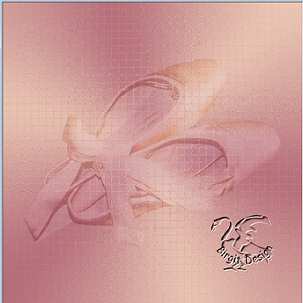
Now you should have this:
3. Open tube
chili_Primaballerina. Edit/ CopY, close it.
On image - Edit/Paste/Past asNew Layer.
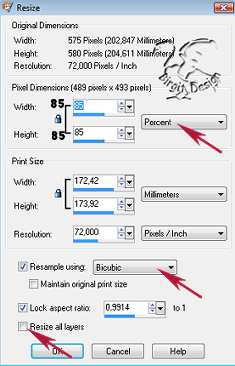
Resize 85% Bicubic, Resize all layers unchecked:
Use mover tool
 and
move tube right at bottom look at mine placement.
and
move tube right at bottom look at mine placement.
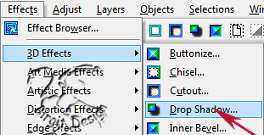
Then Effects/3D Effects/Drop Shadow:
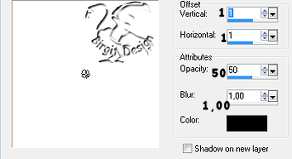
repeat Drop Shadow, set vert. and horiz -1.
4. Open
tube BALLET SWAN, Edit/ copy, close it.
On image - Edit/Paste/Paste as New Layer.
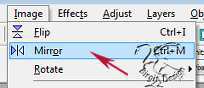
Image /mirror
Now resize 3 x 85% as before.
Move it up to left. Drop Shadow as primaballerina.
5. Open
Word Art. Edit/ copy, close it.
On Image Edit/Paste/Paste as New Layer .
Use mover tool to place it.
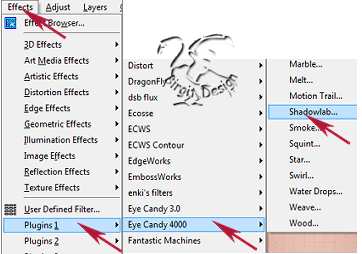
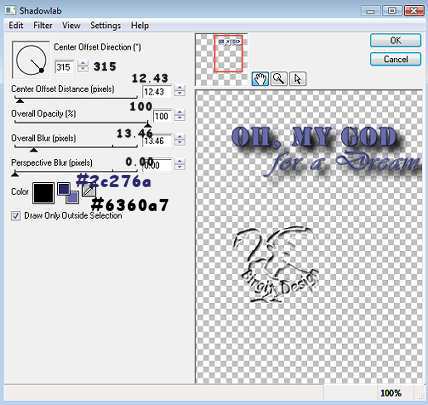
Go to Effects/Plugins/Eye Candy4000/Shadowlab with
these settings:
Merge visible.
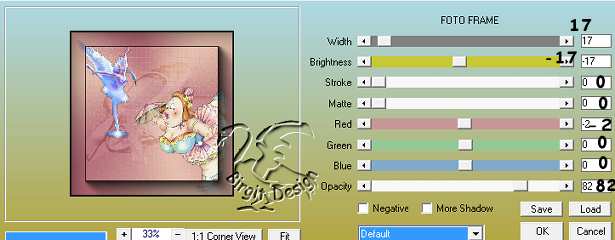
6. Effects/Plugins/AAA
Frame/FotoFrame:
New layer put on watermark or name.
Resize 85% Resize all layers check.
Adjust/sharpness/sharpen.
Merge visible.
Now we are finished. Hope you like the tut and had no problem.
If you have problem then mail me

Tutorialer ~ ~ ~ ~
Scrap tutorialer
Home
