
Writen by Birgit
You are not allowed to forward this
lesson or to place it on any web site.
This lesson is © Birgit - www.birgitja net - 2009
It's my own idea, any resemblance to another tutorial is purely coincidental.
But all graphics made by your self are yours.
I used Psp 9 , but other versions should work.
Just using Brushes for this tag.
3 brush in zip
here. I have done them myself, so
dont chance tittelname. Save all brushes in Psp's Brushfolder.
1.
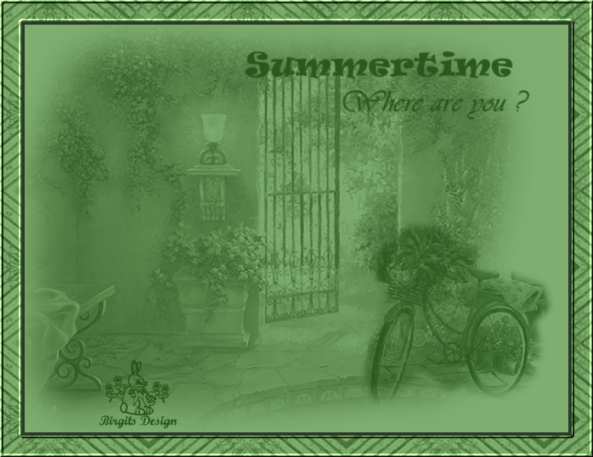
Open an Image 640 x 480 transparent.
Set foreground to #80ae70 and fill.
2.
New layer. Sett foreground to #2c531f. Go to
Paint Brush:
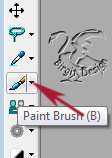
Find bj-natur4, settings here:

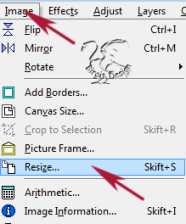
Left click and place it on Image. Go to Image/resize 130% all
layers unchecked:
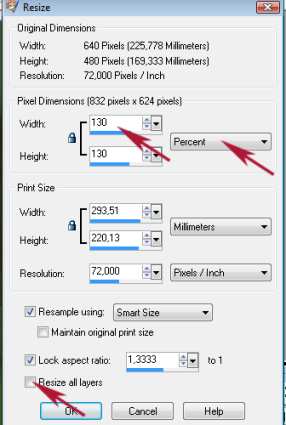
Move a little to left.
3.
New layer. Go to Paint brush and find bj-cykkel, same color
as 1. brush.
Place it down to right.
In layerpalett, sett blend mode to Lumimance L:
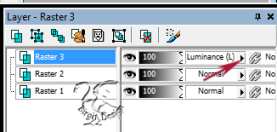
4.
New layer. Go to Paint Brush and find bj-summertime, color
#404040.
Place it up. Blend mode -luminanceL.
Merge Visible.
5.
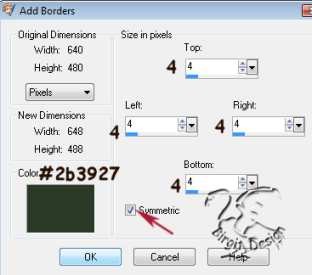
Now we will add borders. Go to Image/Add Borders.
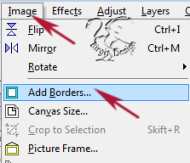
Check symmetric 4 px, color #2b3927:
6.
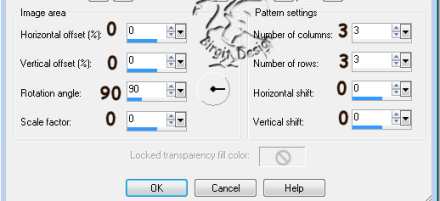
Border 20 px color #8eaf85. Selecter with Magic wand:

Go to Effects/Reflection/Pattern - Defaut setting:

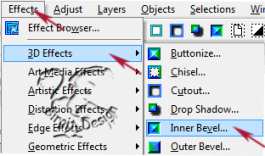
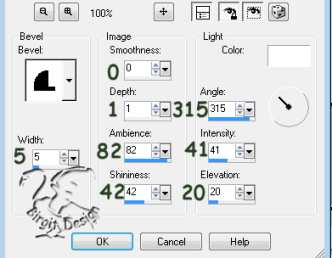
Effects/3Deffect/Innerbevel:
Deselect.
Now put on your name or watermark.
We are ready now.
Resize 85 % all layers ckecked. Adjust/Sharpness/sharpen.
Hope you like it.
You are welcome to mail me

Tutorialer ~ ~ ~ ~
Scrap tutorialer
~ ~ ~ ~ Tag tutorialer
Home